
In recording the Doux Si Doux EP, I really wanted to have a professional vocal sound for mine and Julie’s vocals – so I built a DIY Vocal Booth! The live band sound had come out perfectly and I had made strides at recording acoustic guitar. This had always been a struggle for me. Now, with a voice as beautiful as Julie’s, I wanted to make sure this EP came out perfectly. We were, after all, aiming for licensing opportunities and to get the music placed in film. Quality matters just as much as content when you are dealing with film. So I knew I had to “up my game” to a level that would pass for studio quality.
I began by deciding how I wanted my vocals to sound. The mic I used, which is a handmade point-to-point clone of a Neumann U87, is, in addition to being used extensively in a studio, often used in voiceover. So I researched a few vocal booth solutions that might help and ultimately decided that I could make a DIY Vocal Booth myself.
My DIY Vocal Booth needed to be:
- inexpensive (using mostly things I already had around the house)
- temporary (I would need to be able to put it up and take it down after use)
- quick to assemble
- not invasive (so we could navigate around it when it was up)
- storable (I live in an NYC apartment, space is limited)
- portable, if possible.
Location
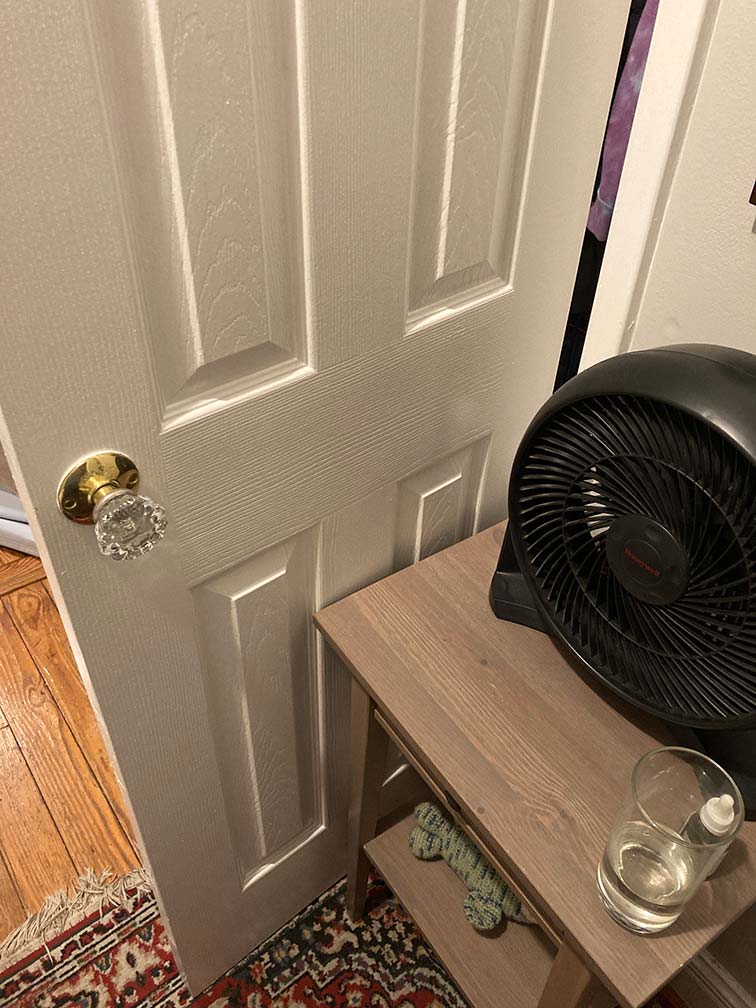
What I looked for was a spot in my apartment where I could utilize a muffled sound space. The closet was a perfect choice. If you sing in your closet, you get very little reverberation. But I did not want to have to move my clothes in an out so I decided sing “into the closet” and use its door as a side.
I needed 5 sides to the DIY vocal booth (including the top) and now I had two covered. I would use my open closets open door as a side and place the mic stand at the outer edge of the closet. I used a nightstand to keep the closet door in place, but a brick, sandbag or anything heavy would do.
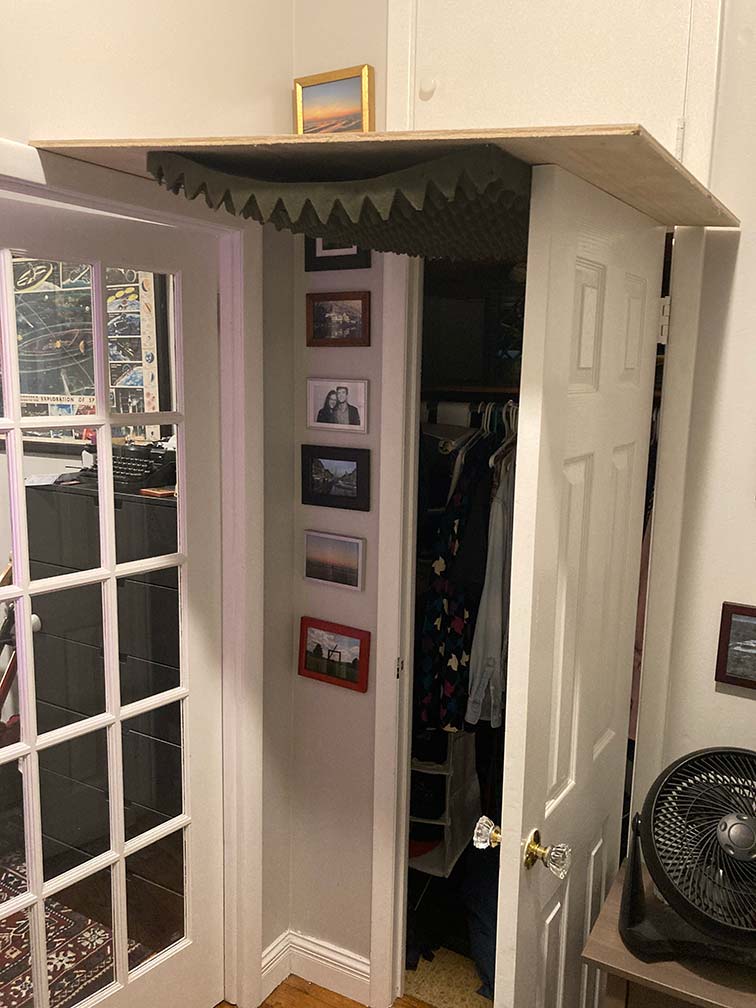
At the other side of my closet door is the bedroom door. This would form a third wall for the DIY Vocal Booth, now I just needed a top and one more wall.
Assembling the DIY Vocal Booth Top
I realized that the moulding on the bedroom door frame and the top of the open door were about the same height, so I measured out how much “roof” I would need for my DIY vocal booth. I had some pieces of 1/2″ thick wood board behind my couch that I was going to use for a shelf project that I hadn’t gotten around to. It measured roughly 50″ length and 40″wide.
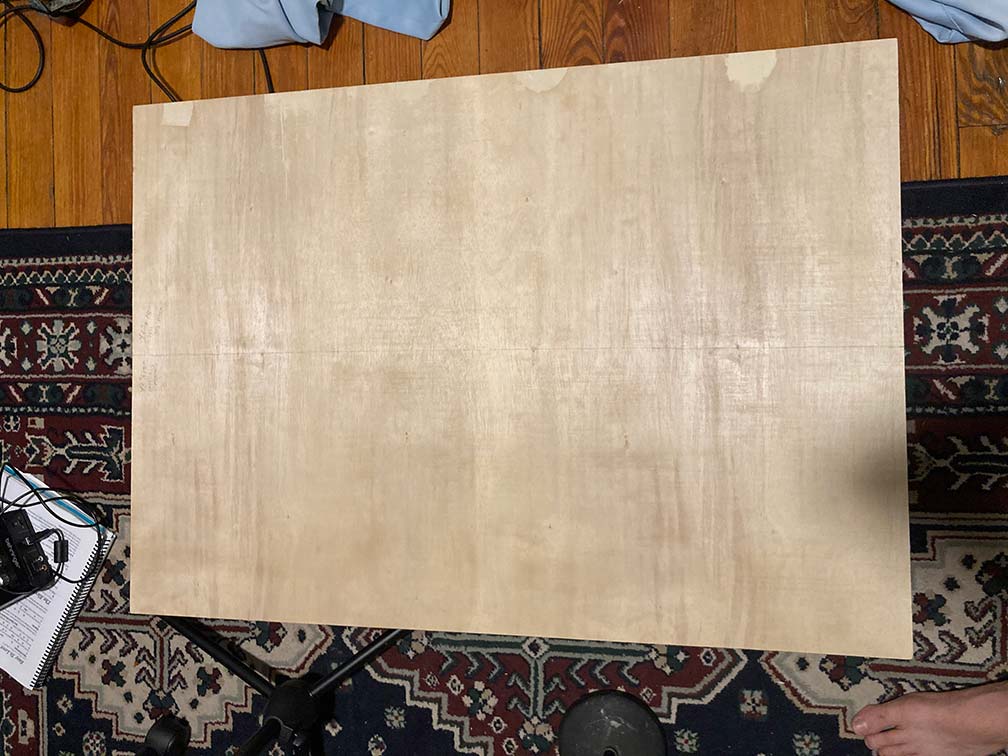
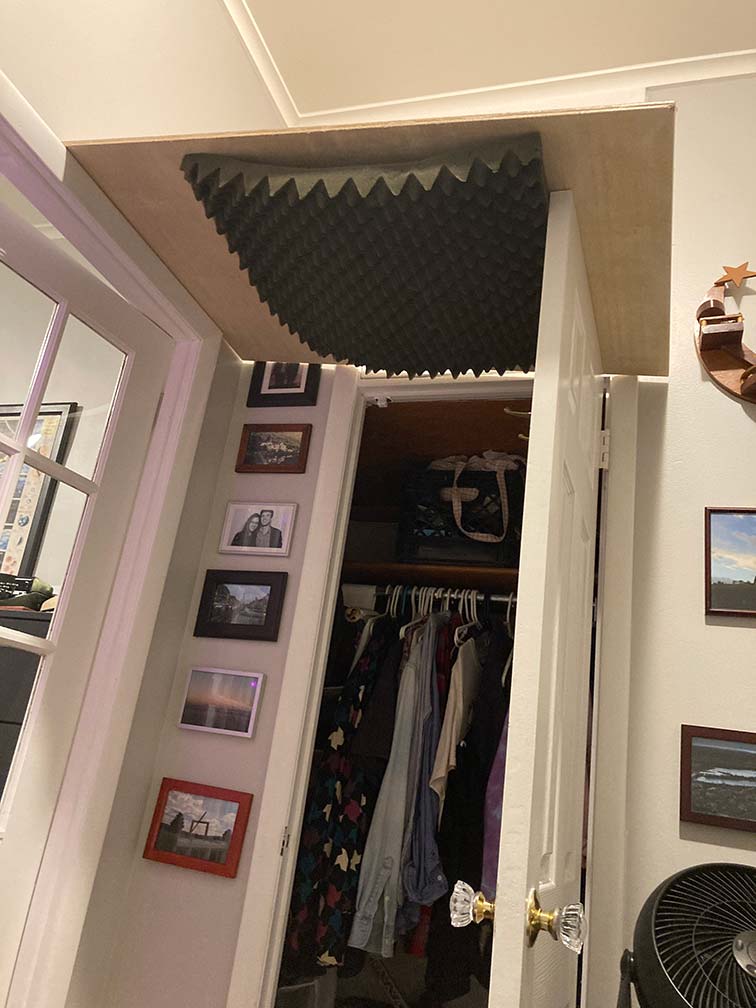
This was great, uncut it was nearly the perfect size for the space of the vocal booth. And I could reuse the wood for the shelves after. I had piece of soundproofing that I got for free when a studio went out of business, and I stapled that to the 50×40″ wood board. You could definitely use an old pillow instead to soundproof your DIY Vocal Booth roof.
For now, I simply rested the wood on the bedroom door frame and closet door to ensure it would work. I would need to think of some way to reinforce it. Depends on the song, but you usually don’t want a roof to fall on your head while you are doing vocal takes.
Making an Entrance
Now I just needed to enclose the DIY Vocal Booth. I had some thick blackout curtains from our last apartment still hanging around, so I thought I’d use those. They catch a lot of sound. Once again, this didn’t need to be permanent or alter the curtains in anyway. They could go back to being actual window curtains or repurposed again. Blankets could work just as well, particularly moving blankets which are cheap / easy to find.
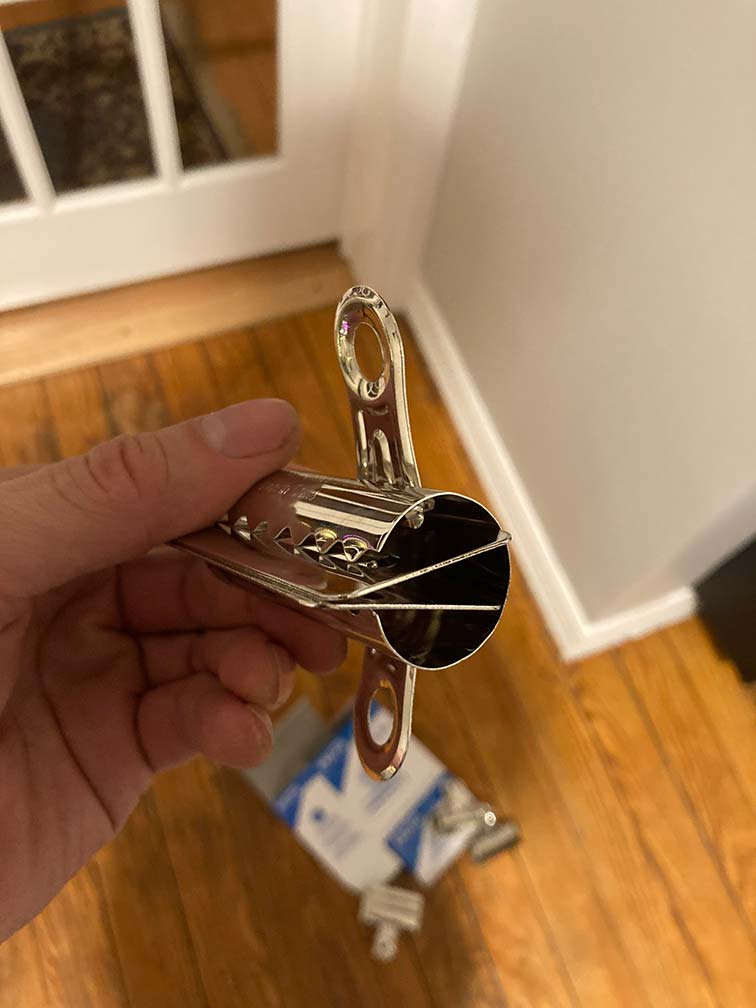
I researched a temporary way to attach the curtains to the roof and landed on these lovely X-Acto Bulldog Clips! They are so clutch.
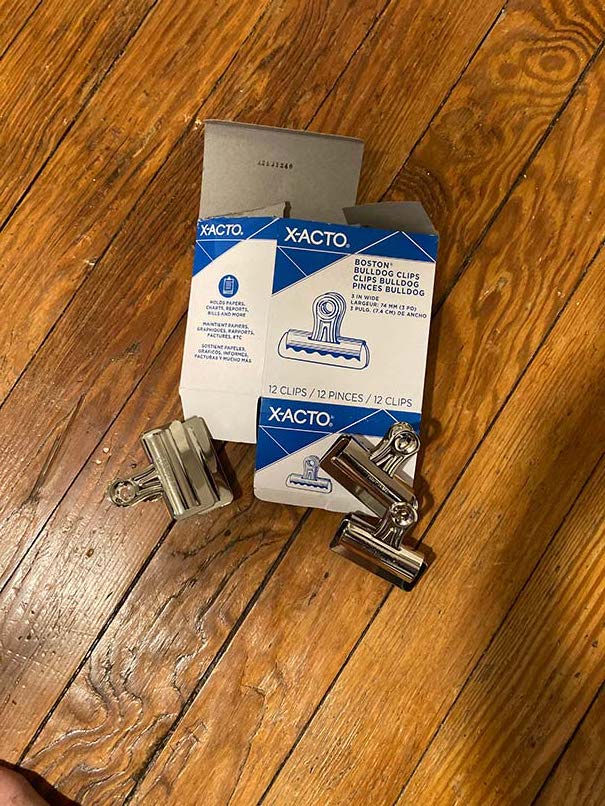
They are 3″ wide and open about an inch. They serve many other purposes and are just good to have around the house.
I attached them to my roof every 10 inches or so.
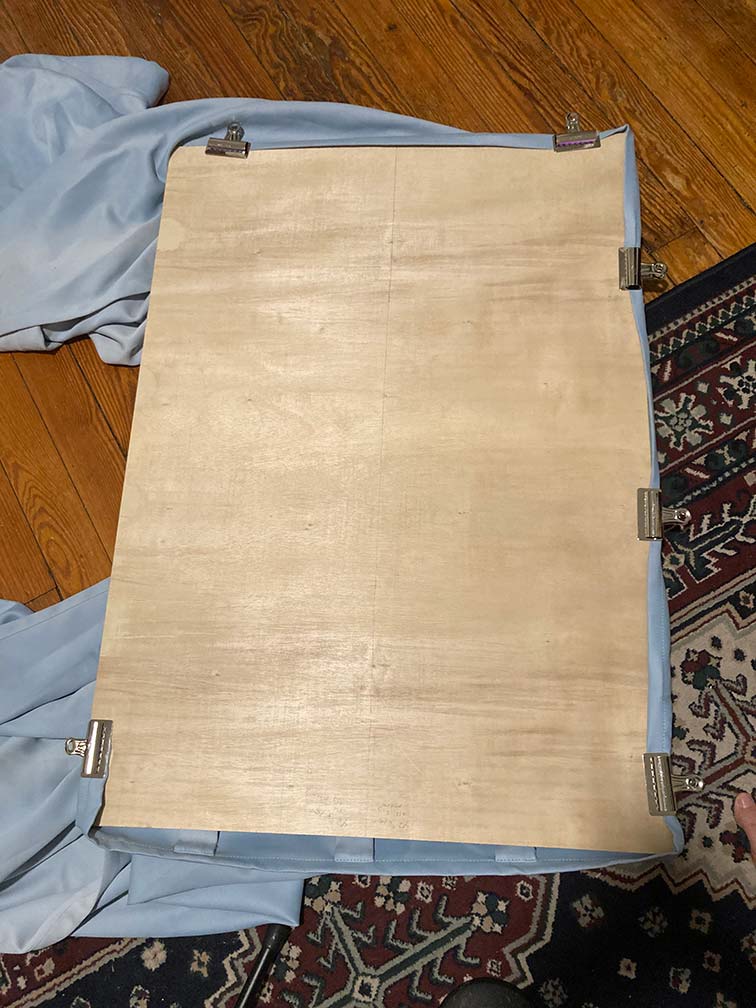
I had to bend back a few to rest against the flat surface of the bedroom wall:
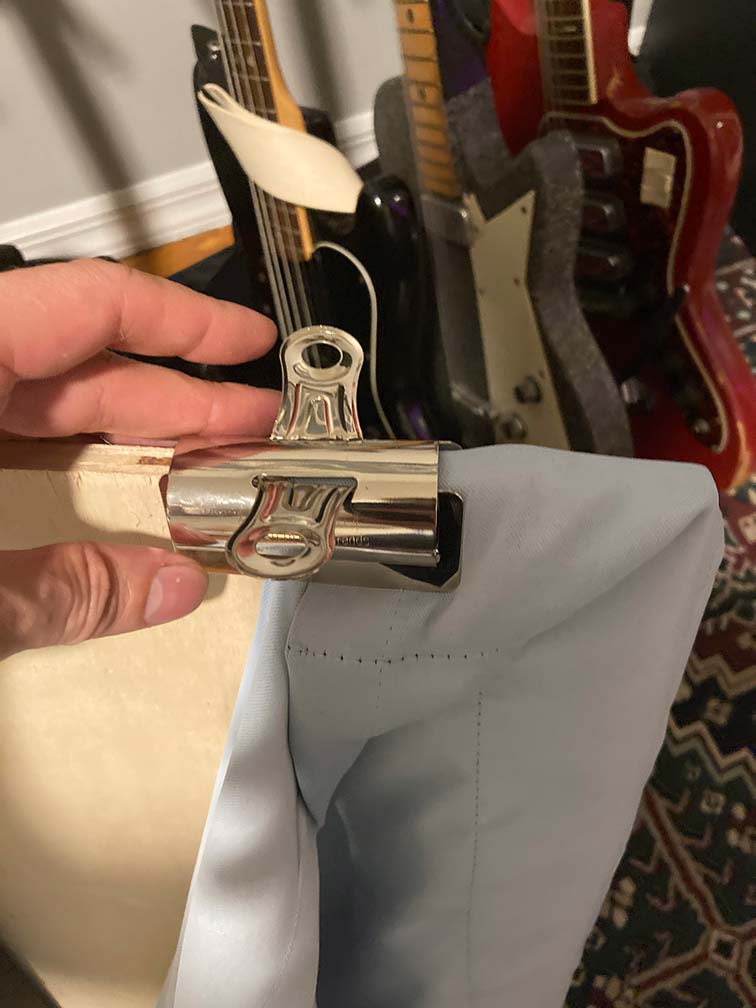
They bend pretty easily but are sturdy enough to go back to their regular shape afterward. It can kinda mess with the clamping mechanism when you bend them, so keep that in mind.
Since I had two curtains, I wanted to create an opening that the singer can easily enter and exit, so I left one of the long sides of the board mostly unclamped. Then I hoisted it back onto the door / frame. 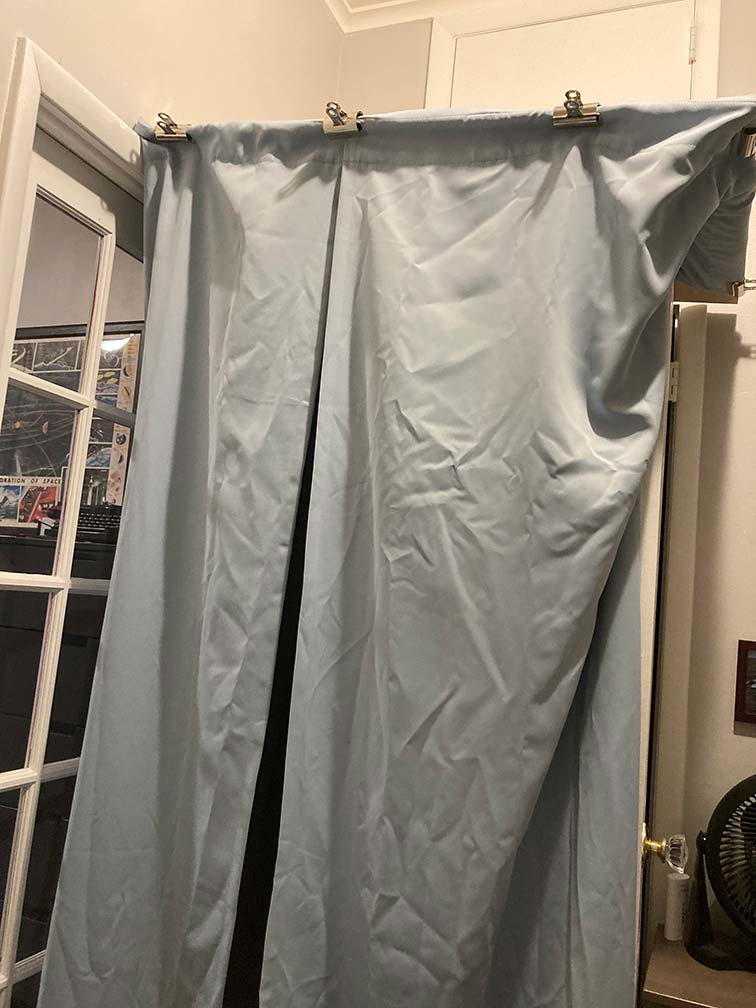
Reinforcing the DIY Vocal Booth
Now it was time to secure the DIY Vocal Booth. I took one shelf bracket (also lying around from the shelf project – which by the way, I did finish) and screwed it into the wall near the bedroom door frame. I also drilled a small hole in the top of the closet door and hammered one nail through the roof to sit in that hole. I hammered another nail into roof to sit in the shelf bracket, where a screw would go. This was sturdy enough, and, when dissassembled, the only thing that would be left behind was one shelf bracket. You can hang your hat on that!
Finishing up
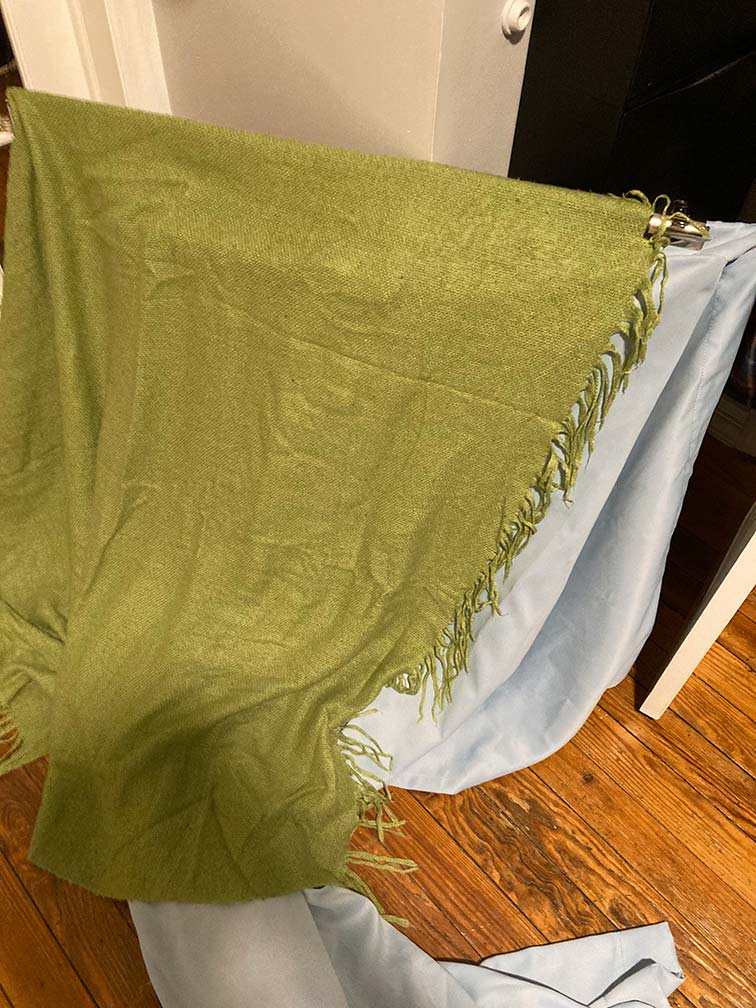
Now I had a four sided booth, with a roof. I added a green blanket to cover the contents of my closet – so no one would be distracted by my awesomely curated yet quirky vintage wardrobe while they were singing.
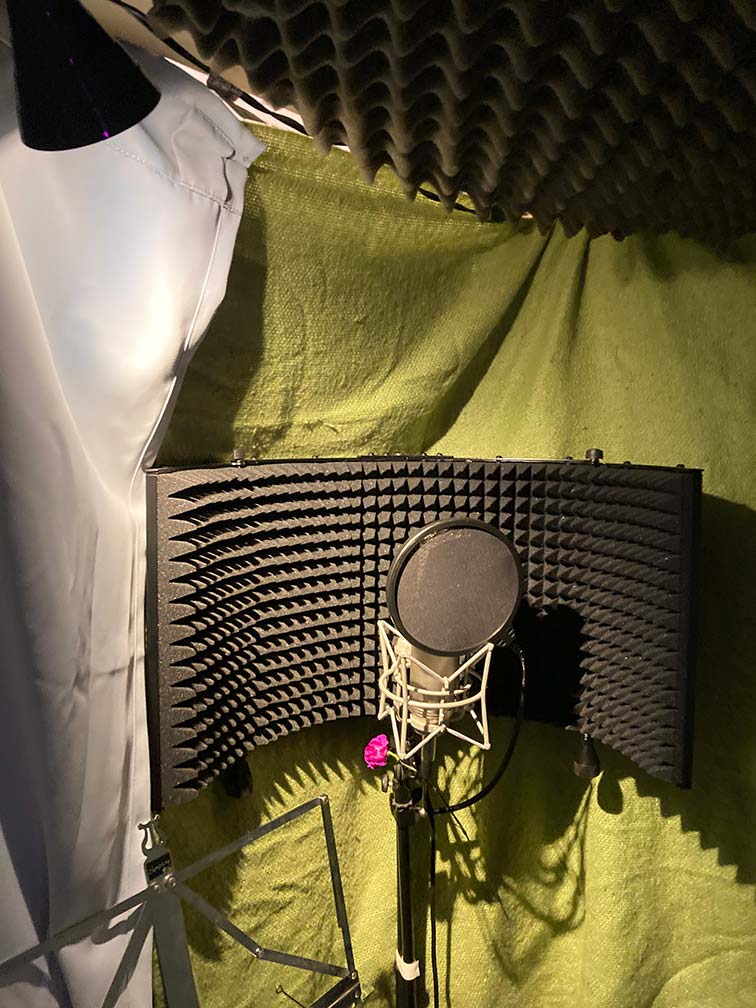
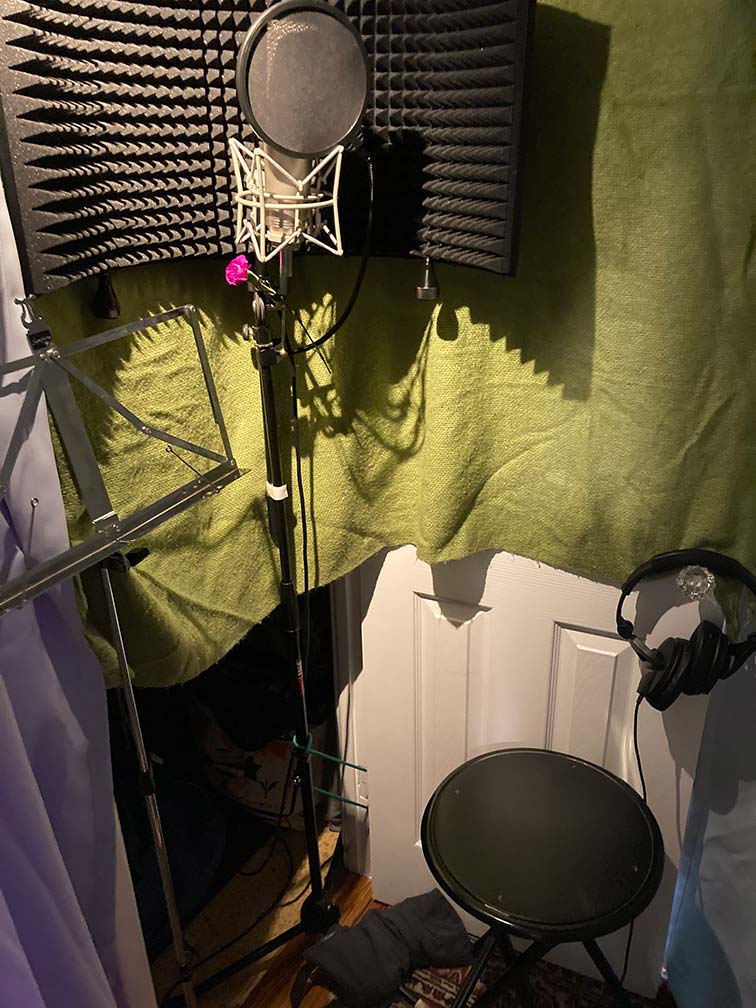
I added a small Ikea clip on light to the corner of the roof’s top. I did just using a hook and wrapping a loop into light’s cord. I moved in the mic stand, a heavy duty Pyle stand with a mic cancelling background shield, into place. A good pop screen is always a nice to have. I threw a sandbag against the closet door to hold it in place.
There was ample room, so I added a stool and music stand as well. I ran a 20′ mic cable from the mic into the other room where my computer was located, and used another mic hooked up to my audio interface to act as a ‘talkback’ so I could communicate with Julie inside the DIY Vocal Booth.
Et voila! This assembles or disassembles in about 10 minutes, and fits behind a desk, guitar rack, or… get this… even IN a closet. A DIY Vocal Booth that I spent about $10 on (I only really purchased the clips). If you totaled up a piece of wood from a hardware store, the clamps, moving blankets, a couple of nails and a shelf bracket, you definitely could create your own DIY Vocal Booth for $50-100 max.
But Phil, how does the DIY Vocal Booth sound?
Judge for yourself, check out the Doux Si Doux EP here. All of my and Julie’s vocals were recorded in this booth!